
The IBM FHIR Server has support for exporting and importing Bulk Data using extended operations for Bulk Data $import, $export and $bulkdata-status, which are implemented as Java Maven projects. The IBM FHIR Server uses JSR252 JavaBatch jobs running in the Open Liberty Java Batch Framework.
The IBM FHIR Server supports storage providers S3 (aws-s3,ibm-cos), File System (file), and now Azure (azure-blob).
I recently implemented support for the Azure Blob Service in IBM/FHIR Pull Request #2413. The code that supports the Azure client uses the OK Http library and not Netty to communicate with the backend. The storage provider is implemented as AzureProvider, and uses the Java – AppendBlobClient to facilitate export. To facilitate import, the code uses the BlobClient to read from a location in 10Kb blocks, and reassemble when a full block is reached. Importantly, this is done in a way to ensure full resources are returned up to a 2Gb limit.
Overview Video
If you want to use the IBM FHIR Server’s bulk data feature with the IBM FHIR Server, use the following recipe:
Recipe – Azure Blob and Bulk Data
1. Login to the Azure Portal
2. Click Home
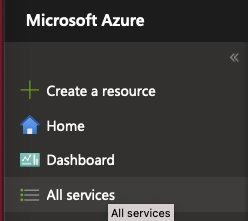
3. Navigate the Azure services, and click on Storage Accounts.
4. Click Create
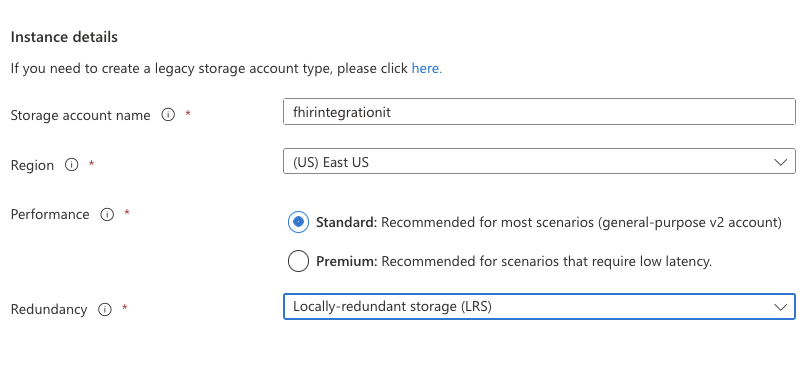
5. Enter the appropriate subscription and resource group
6. Give it a name such as fhirintegrationit
7. Click Review+Create
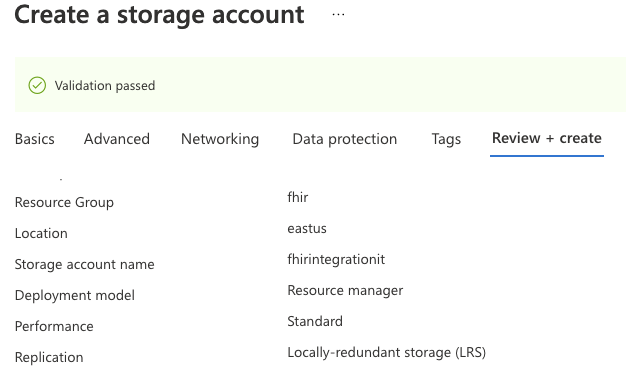
8. Click Create
You’ll see Deployment in Progress for a period of time.
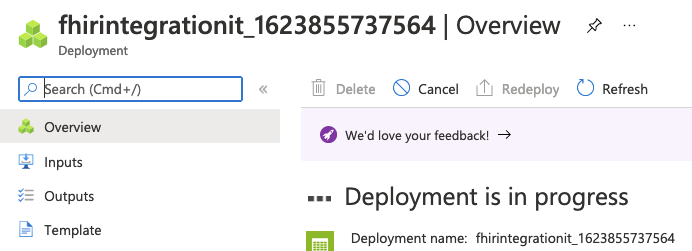
Once it is done, you see Your deployment is complete, proceed to the next steps.
9. Click Go to Resource
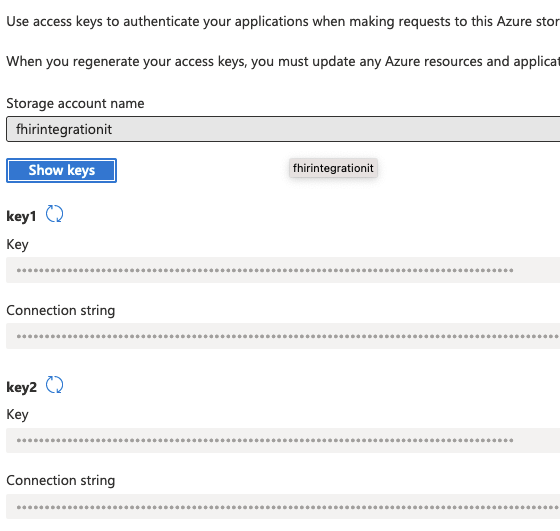
10. Click on Access Key
11. Click Show keys and copy the key1’s Connection string. It’ll look like DefaultEndpointsProtocol=https;AccountName=fhirintegrationit;AccountKey=HIDDEN==;EndpointSuffix=core.windows.net
12. Click on Data > Containers

13. Click +Container

14. Fill in the container details and call it bulkdata

14. Click on the bulkdata container
15. Upload blob Data – AllergyIntolerance.ndjson
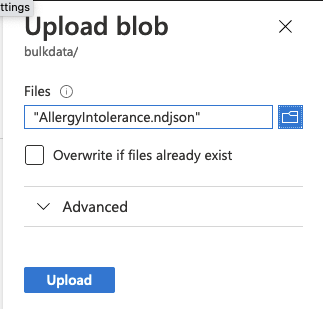
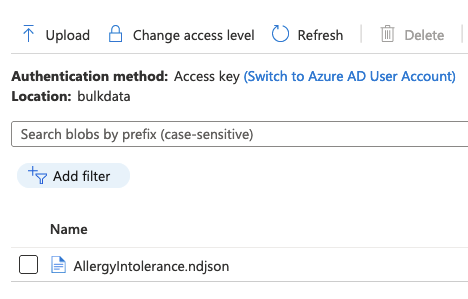
You should see the file uploaded and available.
You are now ready to use this with the IBM FHIR Server from the main branch. If you need to clone the repo go to IBM/FHIR.
16. Build the Maven Projects and the Docker Build. You should see “[INFO] BUILD SUCCESS” after each Maven build, and “=> naming to docker.io/ibmcom/ibm-fhir-server:latest” when the Docker build is successful.
mvn clean install -f fhir-examples -B -DskipTests -ntp
mvn clean install -f fhir-parent -B -DskipTests -ntp
docker build -t ibmcom/ibm-fhir-server:latest fhir-install
17. Download the fhir-server-config.json
18. Open the fhir-server-config.json and update fhirServer/bulkdata/storageProviders/default entry to be the connection is updated to your Connection string from above.
17. Start the Docker container, and capture the container id. It’s going to take a few moments to start up as it lays down the test database.
docker run -d -p 9443:9443 -e BOOTSTRAP_DB=true -v $(pwd)/fhir-server-config.json:/config/config/default/fhir-server-config.json ibmcom/ibm-fhir-server
cde61943964464b528eb77d132fd2a4952e0eaf43588da1c9b6bb2fa584f0608
18. Check the logs until you see:
docker logs cde61943964464b528eb77d132fd2a4952e0eaf43588da1c9b6bb2fa584f0608
...
[6/16/21, 15:31:34:533 UTC] 0000002a FeatureManage A   CWWKF0011I: The defaultServer server is ready to run a smarter planet. The defaultServer server started in 17.665 seconds.
19. Create an $import request and capture the content-location header.
20. Check and poll until you get response code 200 (you should only get 202 in the interim) until you see (note 99 failed validation which is expected):
curl -v -k --user 'fhiruser:change-password' 'https://localhost:9443/fhir-server/api/v4/$bulkdata-status?job=UKt4ESCnqOvAfxYWhdsfUg'

< HTTP/2 200
< content-type: application/json
< date: Wed, 16 Jun 2021 16:01:54 GMT
< content-language: en-US
< content-length: 501
<
{
    "transactionTime": "2021-06-16T15:59:53.086Z",
    "request": "https://localhost:9443/fhir-server/api/v4/$import",
    "requiresAccessToken": false,
    "output": [
        {
            "type": "OperationOutcome",
            "url": "AllergyIntolerance.ndjson_oo_success.ndjson",
            "count": 1600
        }
    ],
    "error": [
        {
            "type": "OperationOutcome",
            "url": "AllergyIntolerance.ndjson_oo_errors.ndjson",
            "count": 99
        }
    ]
* Connection #0 to host localhost left intact
}
21. We can check to see if there is data on the server, and there are 1600 resources.
curl -v -k --user 'fhiruser:change-password' 'https://localhost:9443/fhir-server/api/v4/AllergyIntolerance?_format=json'

{"resourceType":"Bundle","id":"d485339f-49e5-4b11-a1be-4ae06edd0b16","type":"searchset","total":1600,"link"...}
22. Now we run $export and capture the content-location:
curl --location --request GET -k -v 'https://localhost:9443/fhir-server/api/v4/$export?_outputFormat=application/fhir+ndjson&_type=AllergyIntolerance' \
--header 'X-FHIR-TENANT-ID: default' \
--header 'Content-Type: application/fhir+json' \
--header 'X-FHIR-BULKDATA-PROVIDER: default' \
--header 'X-FHIR-BULKDATA-PROVIDER-OUTCOME: default' \
--header 'Authorization: Basic ZmhpcnVzZXI6Y2hhbmdlLXBhc3N3b3Jk'

< HTTP/2 202
< content-location: https://localhost:9443/fhir-server/api/v4/$bulkdata-status?job=LqzauvqtHSmkpChVHo%2B1MQ
< date: Wed, 16 Jun 2021 16:39:19 GMT
< content-length: 0
< content-language: en-US
<
* Connection #0 to host localhost left intact
* Closing connection 0
23. Poll and check the response 202 or 200 and the contents of the response. (empty until done)
curl -k --user 'fhiruser:change-password' 'https://localhost:9443/fhir-server/api/v4/$bulkdata-status?job=LqzauvqtHSmkpChVHo%2B1MQ'
{
"transactionTime": "2021-06-16T16:39:26.551Z",
"request": "https://localhost:9443/fhir-server/api/v4/$export?_outputFormat=application/fhir+ndjson&_type=AllergyIntolerance",
"requiresAccessToken": false,
"output": [
{
"type": "AllergyIntolerance",
"url": "c7GRY0uFsu-hO_QlquVZJr_7hTg5c_m6SHlZ1z3Z7J4/AllergyIntolerance_1.ndjson",
"count": 1600
}
]
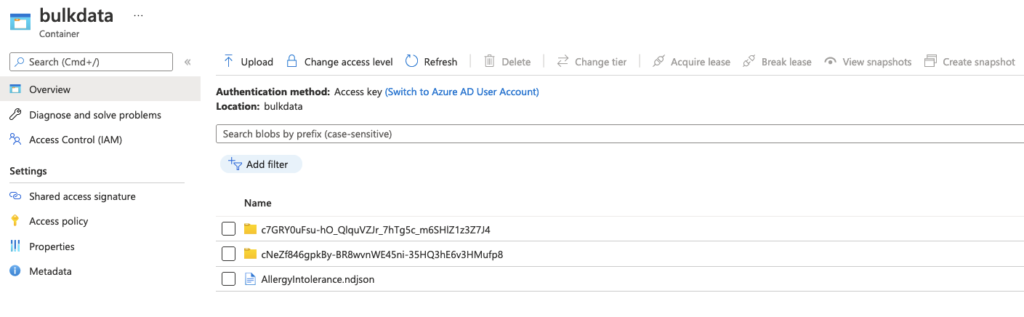
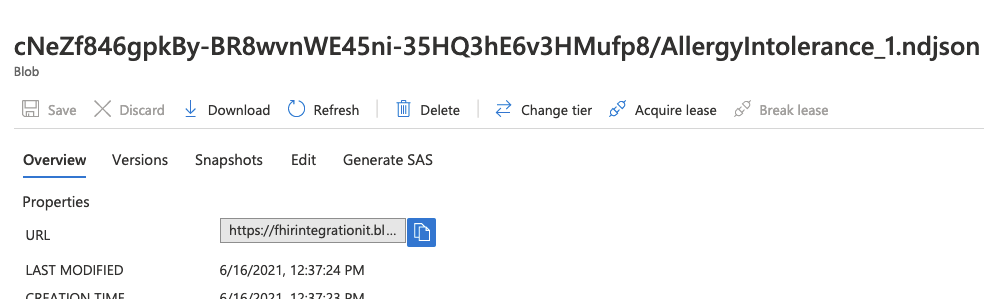
}24. Check Azure Blob Service and you’ll see the folder and file on Azure Blob Service
25. Download and check there are 1600 lines.
You now know how to use Azure and Bulk Data.
Leave a Reply to admin Cancel reply